Getting Started with FieldServicely
This guide introduces the essential features, helping you quickly set up and integrate the system into your daily operations.
Welcome to FieldServicely – where innovation maximizes field business performance.
Designed for service-oriented enterprises and field-intensive industries, our software helps you improve your operations and increase customer satisfaction.
This guide introduces the essential features, helping you quickly set up and integrate the system into your daily operations. It covers everything from initial login to dashboard customization, ensuring a smooth start to efficient field service management.
If you don’t want to go through the whole article, skip to each section (that you need):
- Sign Up & Onboarding
- Inviting Members to the Organization
- Downloading the Mobile App
- Creating Offices
- Adding Customers
- Creating Work Orders
- Assigning Jobs
- Tracking Members
- Approving or Rejecting Jobs
- Checking Timesheets & Reports
1. Sign Up & Onboarding
To sign up to FieldServicely, navigate to the sign-up page and supply:
- First Name
- Last Name
- Password.

A code will be sent to your email. Use it to verify your account.
Now, click on “Create A New Organization” to create an Organization.

Give your Organization a Name, choose your Timezone (your Timezone will be chosen by default), and input your Phone Number. Now choose the plan that best suits your organization.
2. Inviting Members to the Organization
After you have logged into your account, a pop-up will appear asking you to invite your Team Members.

You can also invite Team Members from the ‘Members’ tab on the left sidebar, and the ‘Invite’ option at the bottom of the left sidebar.

3. Downloading the Mobile App
Click on the ‘Mobile App’ tab under ‘See More’ from the left sidebar, and you will be redirected to the download page. You can also download the app from the Google Play Store and the iOS App Store.

4. Creating Office
Click on ‘Offices’ from the left sidebar, and then click on ‘Create Office’.

Now a form will pop up, input your desired office name into it.

Now assign a member to this office and choose a location for it.
Input:
- Location name
- Address
- Radius of the office grounds
Once you have input a location, click on the ‘Add Location' button.
Now, with all information put in place, click on the ‘Save & Close’ Button.

5. Adding Customers
Go to ‘Customers’ from the left sidebar. You can add customers in two ways.
One is to upload a CSV file through ‘Import Customers’ (download our provided template and fill it in first).

Or you can add one Customer at a time through ‘Add Customer’.

6. Creating Work Order
Click on ‘Work Order’ and then click on the ‘+ Create Work Order’ Button on the top right.

Provide:
- Work Order Name
- Choose or Add New Customer
- Choose Status

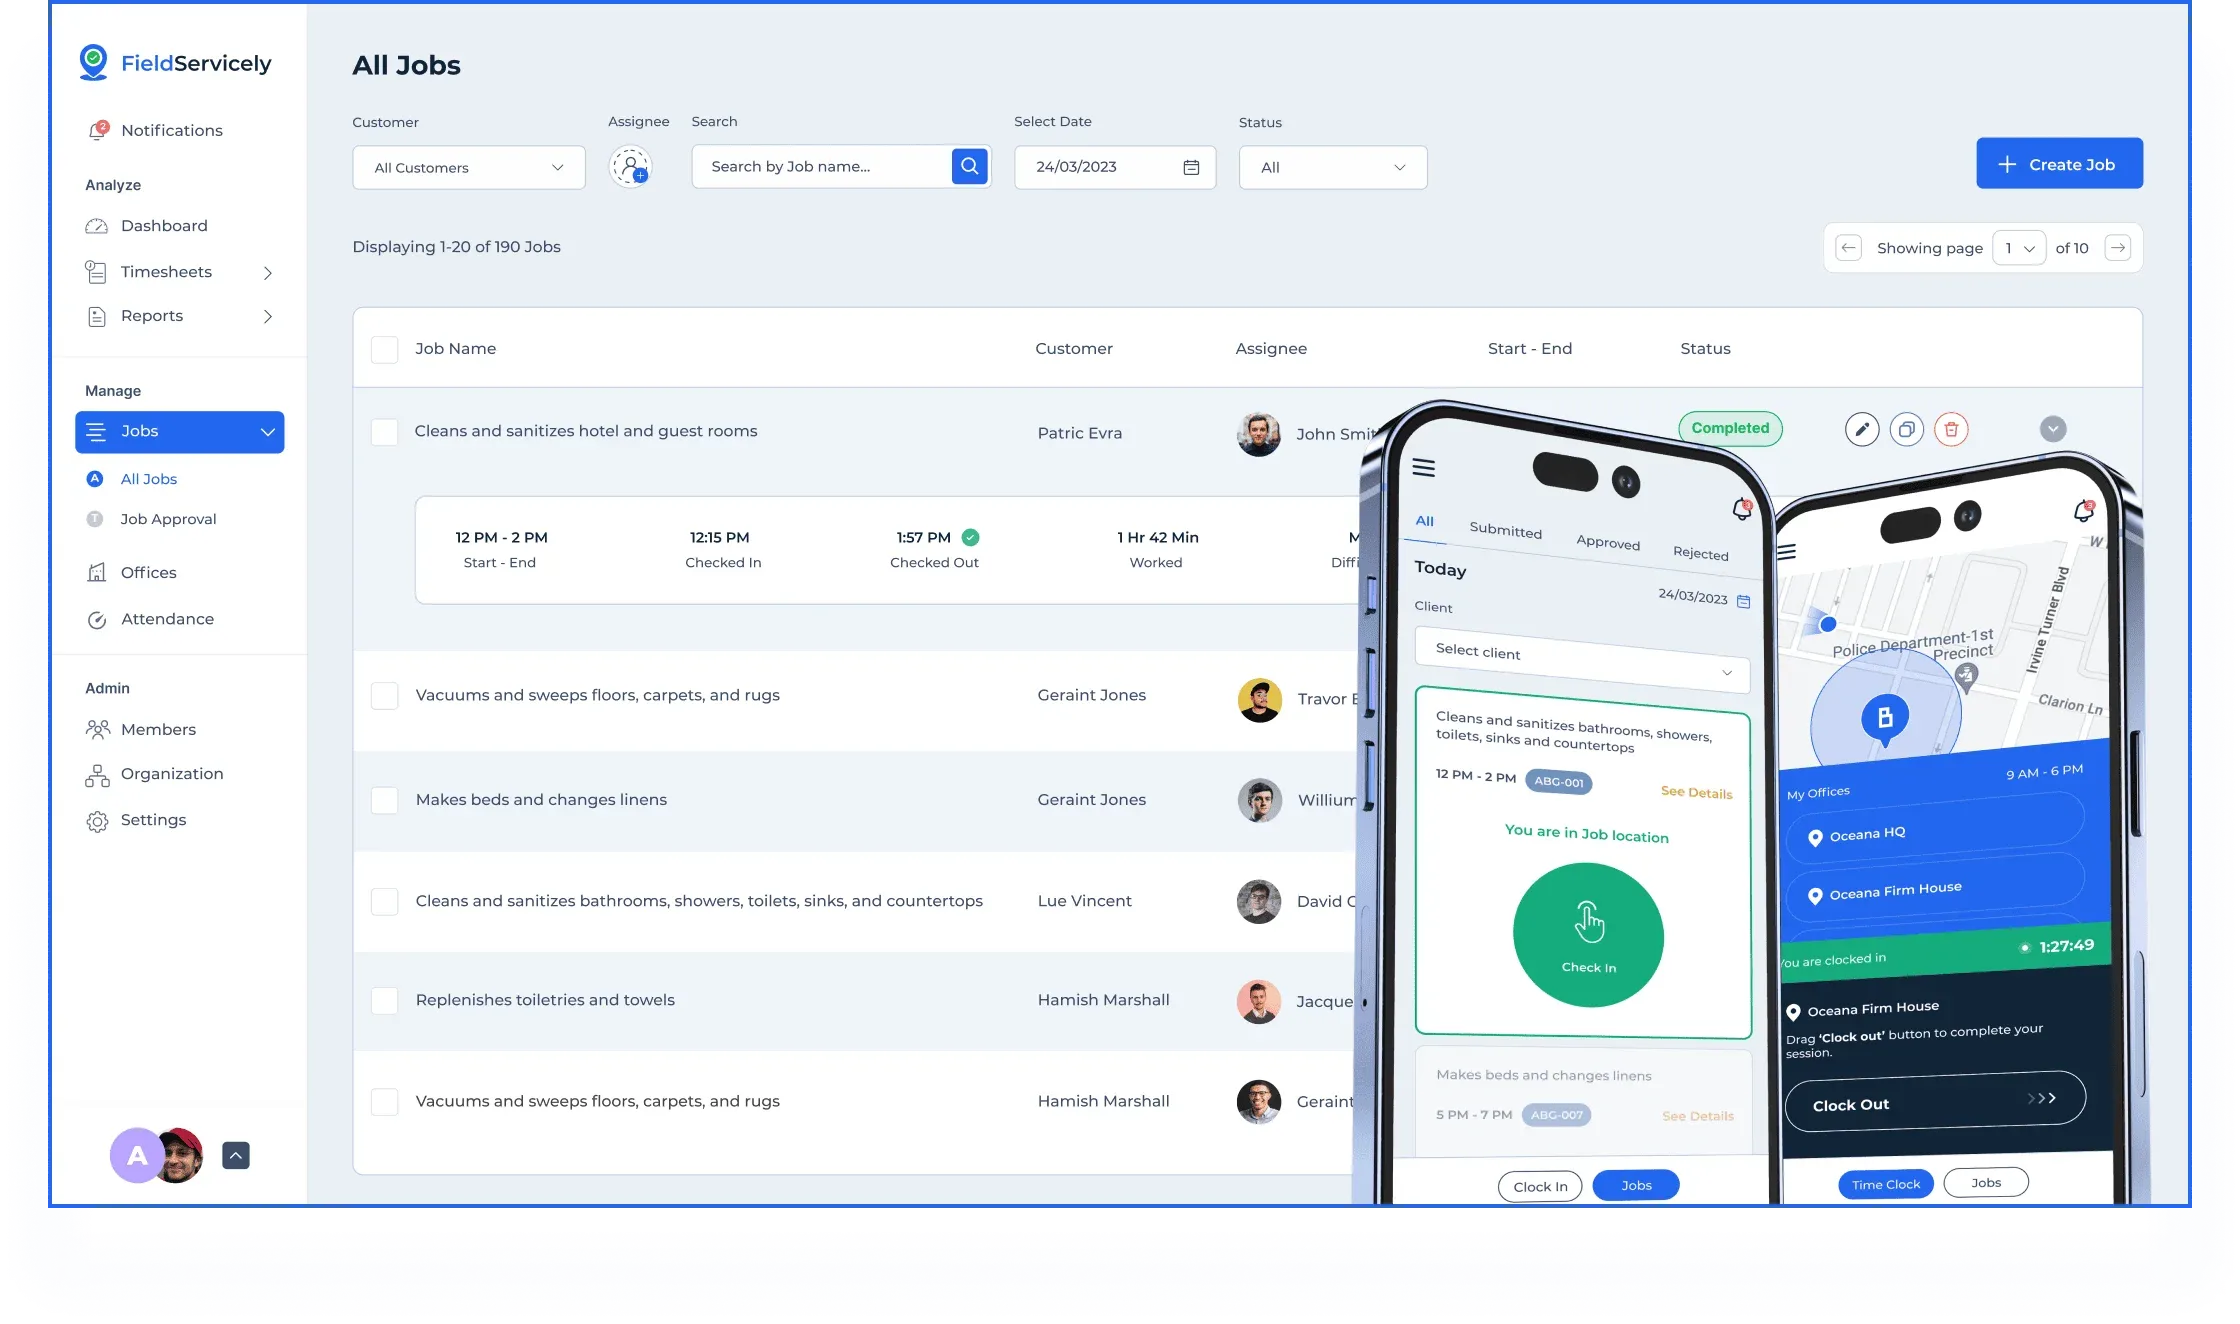
7. Assinging Jobs
You can assign jobs through three sections.
The first is through the Work Order you created. Click on the ‘Add Job’ under Jobs.

Give your job
- A Name
- Choose its status (Ready to Dispatch if you have Members ready to do the job, Unscheduled if you want to assign and start the job at a later time)
- Give a description
- Choose a location
- Assign members
- Choose a date
- Choose a start and end time
- Choose if a single schedule or a recurring schedule (single schedule for a one-off job, recurring schedule in case the job needs to be done over a number of days)
- Choose a theme.

The second is through ‘Scheduling’ from the left sidebar. Click on the ‘Create Job Schedule’ to bring up the Create Job Form.

The third is through ‘Jobs’. Click on ‘All Jobs’ and then ‘Create Job’ to bring up the ‘Creat Job’ form.

8. Tracking Members
Once your members are out on the field and heading towards the job site, go to ‘GPS Tracking’ from the left sidebar.
‘Route Map’ will show you the route your member is taking to go to the job site.

‘Live Location’ will show you the exact current location.

9. Approving or Rejecting Jobs
Once your member submits a job, go to ‘Job Approval’ under ‘Jobs’ on the left sidebar.

Here, you can see the evidence they submitted and decide if you want to approve or reject the job.
10. Checking Timesheets & Reports
From ‘Timesheets’ on the left sidebar, you can see the timesheets of your members.
You can view the timesheets in:
and also export the data from that page.


